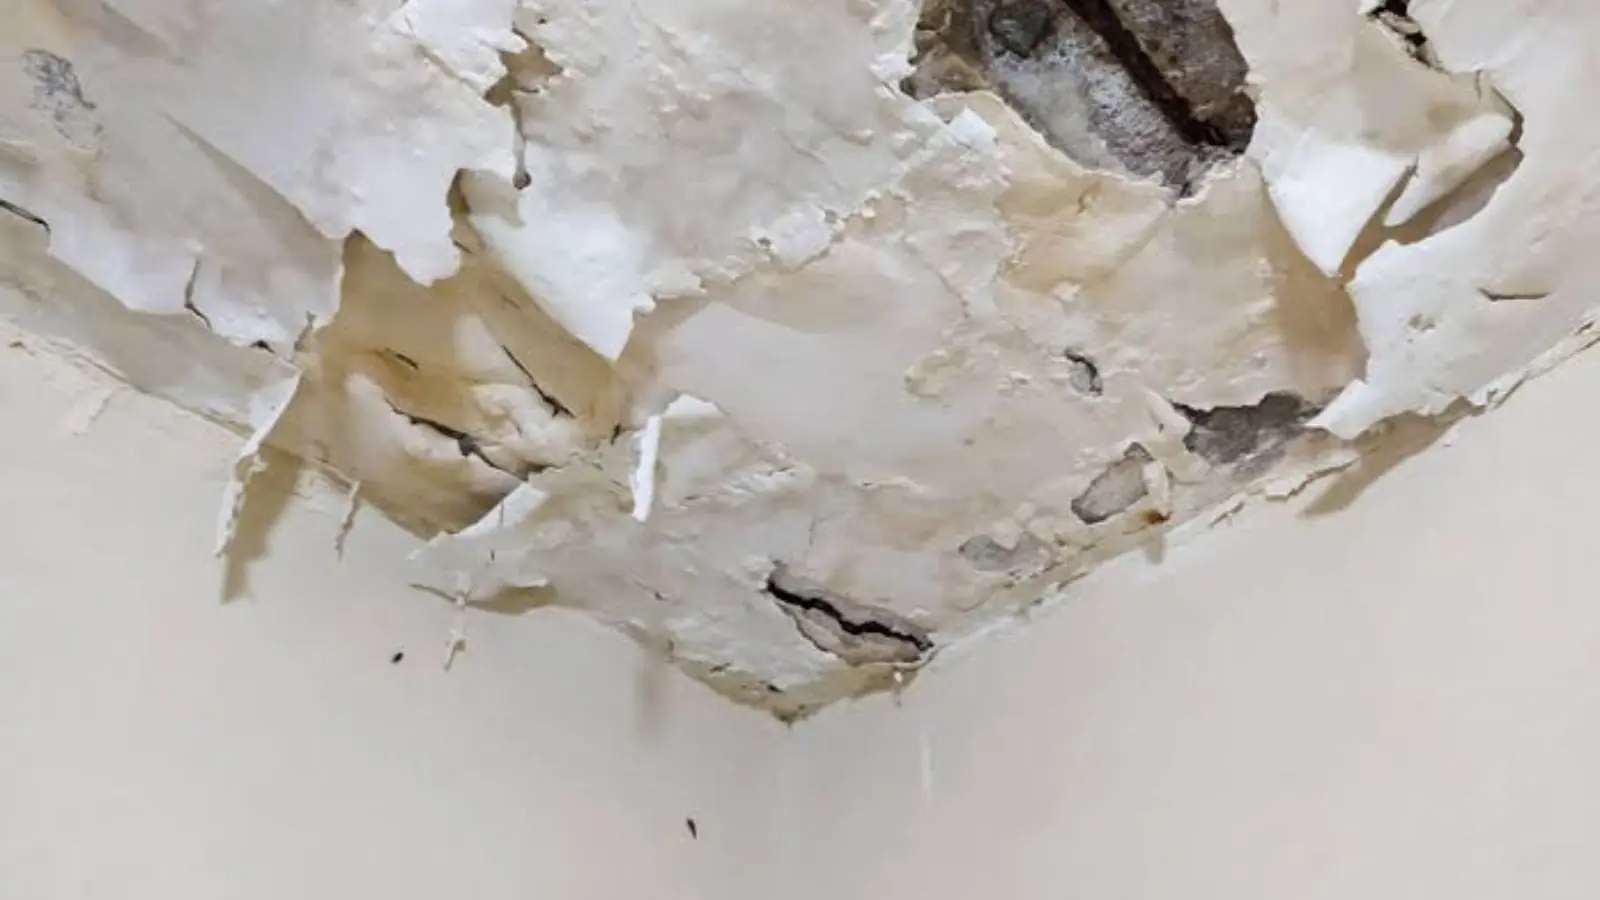
Water damage to a ceiling looks alarming, but the repair follows a clear order. Stop the water, let the cavity dry, remove what is ruined, then rebuild. Skipping a step is why stains come back through new paint.
This is the homeowner's view of the process, so you can tell whether a quote or a plan makes sense.
Step one: stop the water and make it safe
If water is still dripping, find and stop the source. If a plumbing line is leaking, shut the main. If the ceiling is bulging with water, stay out from under it, because a saturated ceiling can collapse. Light fixtures in a wet ceiling are an electrical hazard, so turn off the circuit from a dry panel or call an electrician.
Place a bucket under any drip. Move furniture out of the room. Photograph the ceiling from several angles for your insurer before anything is cut.
Step two: find out how far the water went
The visible stain is almost never the full story. Water follows joists and pipes before it shows. A moisture meter and thermal camera map the wet area, and the crew then decides how much ceiling to open. Insulation above the ceiling is the key question, because wet insulation holds water against the drywall.
Step three: dry, then remove
- Cut back the ceiling past the wet edge, usually a foot or two beyond the visible stain.
- Remove wet insulation, which rarely dries in place.
- Set air movers and a dehumidifier to dry framing and any remaining drywall.
- Check moisture readings on the joists until they are at normal levels.
- Treat any staining on framing and let it dry fully before closing it up.
Ceiling stained, sagging or dripping now?
Step four: rebuild the ceiling
New drywall is hung, then taped, mudded and sanded. The patch is primed with a stain-blocking primer, then painted. Textured ceilings need texture matched, which is an art in itself. If the ceiling is large and the old paint is dull, painting the whole ceiling gives a more even result than a spot patch.
The sequence matches what we describe on the water damage repair page, and it only starts after drying on the mitigation page is complete.
| Factor | Drywall | Plaster |
|---|---|---|
| Typical failure | Sags, stains, softens | Cracks, loses keys, sags in sheets |
| Repair approach | Cut out and replace sections | Patch if sound, replace if keys have failed |
| Drying | Cavity can be dried by opening a hole | Thicker, dries slowly, needs monitoring |
| Match | Texture and paint | Skim coat, matching old finish is harder |
What changes the price
- How big the wet area is and whether the water also reached walls.
- Whether insulation had to be replaced.
- Ceiling type and texture.
- How many days of drying were needed.
- Paint scope: the patch or the entire room.
Scope and price should be explained before work starts and written down. Your insurer may cover a sudden event but not slow, long-term leaks.
The same sequence applies for homeowners in Shrewsbury and Hopkinton, though older plaster ceilings are more common in older village houses.
Questions to settle before the ceiling is closed
- Has the source of the water been found and stopped?
- Did someone take moisture readings of the framing and the insulation, not only the drywall?
- Is the insulation above the ceiling dry or removed?
- Is any electrical fixture or wiring affected, and has it been checked?
- Who is responsible for texture matching and painting after the patch?
Closing a damp ceiling is how a small leak becomes a mold job. The few extra days of drying cost less than reopening the ceiling.
Patch, section or whole ceiling?
| Situation | Typical approach |
|---|---|
| Small dry stain, leak fixed | Stain-blocking primer and paint |
| Drywall soft or sagging in one area | Cut out the wet section back to dry framing, replace, tape, texture and paint |
| Water spread across the room | Remove the wet drywall and insulation, dry the cavity, replace and finish |
| Water mixed with sewage or flood water | Remove and discard affected material, then rebuild |
Matching texture and paint takes skill, and a patch that reads as a patch is usually a finishing problem, not a structural one. Pair the rebuild with the cleanup stage so the same crew documents what was removed.
Homeowners in Grafton and Shrewsbury ask the same questions.
Finishing the job
After the drywall goes up, taping, mudding and sanding take several visits because each coat has to dry. A primer coat goes on before paint, and a stain-blocking primer helps if any old staining remains. Texture, if the ceiling had it, is matched at the end.
Expect to see the finish clearly only after the final coat of paint. Check the repair in daylight, and look at it at a low angle to see any ridges.
Local note: older houses and permits in Westborough
The town's 2025 housing plan places about 12 percent of houses before 1940, with another 30 percent from the 1960s and 1970s. Plaster ceilings are more likely in the older group, and each type fixes differently.
For permits, the Building Department can be reached at 508-366-3015. Ask whether your repair needs a permit, since rules depend on the work.
Source type: Town of Westborough Housing Production Plan and Building Department page.
Questions homeowners ask
Only if the leak is fixed, the ceiling is dry and firm, and you use a stain-blocking primer. A damp or growing stain needs to be opened and dried first.
A ceiling bulging with water can collapse. Stay out from under it and call. A professional may release the water safely through a small opening, away from fixtures.
Drying takes a few days, and the patch, tape, primer and paint add another few. Plaster takes longer. A written scope should give you a sequence.
It often covers sudden and accidental leaks, such as a burst pipe, but not gradual ones. Check your policy and ask your insurer.